

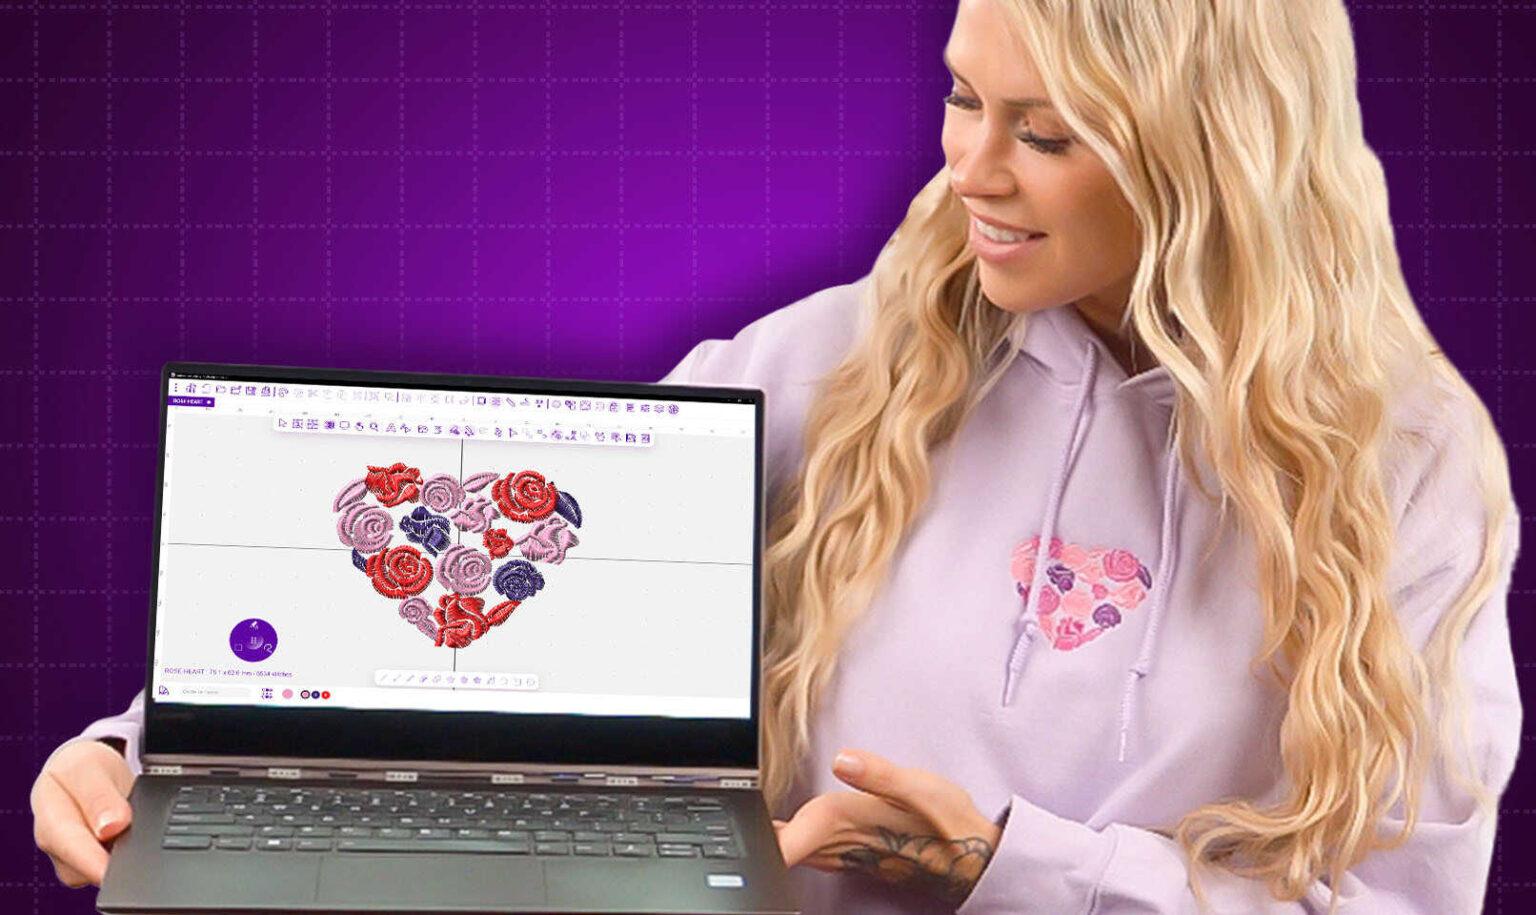
Introduction: Not All Fabrics Play Nice
You learned embroidery on woven cotton tote bags. Everything sewed out flat and beautiful. Then you tried your first cap. The design wrapped strangely around the curve. The text looked squished on one side. Then you tried a hoodie. The stitches sank into the fleece like quicksand. Your crisp logo turned into a fuzzy blob. I have watched this happen to so many people. The problem is not your machine or your skill. The problem is that hats, hoodies, and heavy fabrics need completely different digitizing than flat, stable materials. That is why you need Embroidery Digitizing Services that specialize in challenging fabrics. A general digitizer will give you the same file they use for polo shirts. A specialist will adjust stitch density, underlay, pull compensation, and cap compensation specifically for your tough material. This guide walks you through exactly what changes and how to find a service that gets it right.
Why Hats Break Normal Digitizing Rules
A hat is not flat. A hat curves in two directions simultaneously. The front panel slopes down from the center to the sides. That means a straight line digitized for a flat hoop will look curved when sewn onto a cap. Worse, the center of the design gets more needle penetrations per square inch than the edges because the fabric bunches slightly under the hoop. That uneven density causes puckering and thread breaks. Professional cap digitizing uses something called cap compensation. The software actively distorts your artwork in the opposite direction of the curve. A square becomes a barrel shape on screen. When sewn onto the curved cap, it straightens out into a perfect square. Most general digitizers do not even know this exists. They send you a flat file and blame your hooping when it fails.
The Secret Settings for Hat Digitizing
Let me give you the specific settings that hat specialists use. Reduce stitch density by about fifteen percent compared to a flat woven fabric. Caps cannot handle tight packing. The foam or structured front compresses under the needle, and dense stitches create deep perforations that weaken the fabric. Increase pull compensation by twenty percent, especially on the left and right edges of the design. The curve pulls stitches inward more aggressively than flat surfaces. Add a center run underlay to every filled shape. That single straight line down the middle anchors the stitches and prevents the design from shifting sideways during the curve. Shorten your maximum stitch length to 3.5mm instead of the usual 5mm. Longer stitches bridge across the curve and distort. And always, always use a cap hoop with a curved bottom plate. A flat hoop on a curved cap guarantees failure.
Hoodies and Fleece: The Fabric That Eats Thread
Now let me talk about hoodies. Fleece has a napped surface. Those tiny fuzzy loops stick up and catch thread. When you sew a design onto fleece, the top thread often sinks down into the nap, making your logo look half finished. The solution is not to sew harder. The solution is to add a water-soluble topper. That clear film sits on top of the fleece. You stitch through it, and the film holds the top thread up on the surface. After sewing, you tear away or rinse away the film, and your logo sits visibly on top of the fleece instead of sinking in. A digitizing service that knows fleece will automatically recommend a topper. A general service will not mention it, and you will be left wondering why your design looks invisible.
Density and Underlay for Hoodies
Fleece also needs lower density than woven fabrics. Set your density around 0.45mm to 0.5mm spacing. Tighter than that, and the stitches compress the fleece instead of sitting on top. Use a double zigzag underlay. A single zigzag will not grip the fuzzy surface firmly enough. The double pass creates a solid foundation. Increase pull compensation to 0.35mm or 0.4mm. Fleece shifts more than any other common fabric because the loops act like ball bearings under tension. Slow your machine to five hundred to six hundred stitches per minute. Speed creates heat. Heat melts polyester thread. Melted thread snaps. Slow and steady wins the fleece race.
Denim and Canvas: Heavy but Stable
Heavy fabrics like denim, canvas, and twill are actually easier than hats or fleece. They do not stretch much, and they hold stitches well. The main challenge is penetration. You need a larger needle, typically size 14/90 or even 16/100 for very heavy denim. The digitizing itself can use standard woven settings. Density at 0.35mm to 0.4mm. Edge run underlay. Pull compensation at 0.2mm. The real secret with heavy fabrics is sharp needles. Change your needle every four to six hours of sewing. A dull needle pushes through denim instead of slicing. That pushing creates heat and friction. You will see burn marks around your stitches. A fresh needle solves most heavy fabric problems instantly.
Leather and Vinyl: The Puncture Problem
Leather and vinyl are not fabrics at all. They are sheets of material that do not heal after a needle puncture. Every hole stays forever. That means you cannot make mistakes. Also, you cannot use normal underlay because extra stitches mean extra holes. The digitizing rule for leather and vinyl is simple. Use only the minimum stitches necessary. No underlay. No satin fills wider than 6mm. Use tatami fills with longer stitch lengths of 4mm to 5mm. Reduce density to 0.5mm spacing. And never, ever use a design that requires you to rip out stitches. The ripped holes will remain visible permanently. Test on scrap leather first. Then test again. Then sew on your real piece.
What to Ask a Digitizing Service Before You Order
You found a digitizing service online. Their prices look reasonable. Their portfolio shows pretty pictures. But before you send money, ask these specific questions.
First, do you have preset fabric profiles for hats, hoodies, and denim? A good service will say yes immediately and describe how they adjust density and underlay for each.
Second, do you add cap compensation automatically for hat designs? If they do not know what cap compensation is, hang up and call someone else.
Third, can you recommend a water-soluble topper for my fleece design? A knowledgeable digitizer will bring up toppers before you even ask.
Fourth, will you include a center run underlay for my cap design? This tests whether they know the specific settings.
Fifth, can you send me a sew-out photo on your end before you deliver the file? The best services will test your design on the requested fabric and send you a picture. That takes extra time and costs a bit more, but it is worth every penny.
Red Flags to Run From
Avoid any service that quotes the same price for a cap design as a flat tote bag design. They are not doing the extra work. Avoid services that promise two hour turnaround for complex hat logos. Proper cap digitizing takes time. Avoid services that never ask about your fabric type. They are sending you a generic file and hoping for the best. Avoid services that do not offer test sew-outs or sample files. They know their work will not hold up to scrutiny.
The Cost Difference for Tough Fabrics
Expect to pay more for hats, hoodies, and heavy fabrics. A simple flat logo on woven cotton might cost twenty to thirty dollars. The same logo on a cap costs forty to fifty dollars because of cap compensation. A hoodie design might run forty to sixty dollars because of the extra underlay and topper considerations. Leather designs cost even more, sometimes seventy to one hundred dollars, because of the precision required. Do not balk at these prices. A bad file on a fifty dollar hoodie ruins the hoodie. A good file costs forty dollars and works perfectly. You come out ahead.
Testing Before Bulk Production
Here is my strongest advice. Before you order two hundred custom hats for a corporate client, order one sample hat. Send your logo to a digitizing service. Have them digitize it for caps specifically. Sew that one design onto one hat. Check the curve, the centering, the stitch density, and the edge placement. If it looks perfect, approve the file and run your bulk order. If not, ask for revisions or try a different service. This one sample hat saves you from two hundred unusable hats. I have seen companies ignore this advice and end up with boxes of garbage. Do not be that company.
Conclusion: Match the Service to the Fabric
You would not use a hammer to screw in a lightbulb. Do not use a general digitizer for hats, hoodies, or heavy fabrics. Seek out embroidery digitizing services that specialize in challenging materials. Ask about cap compensation, fleece underlay, water-soluble toppers, and pull compensation adjustments. Pay the higher price for specialized work. Test on a single sample before bulk production. Your hats will curve correctly. Your hoodie logos will sit visibly on the surface. Your leather patches will have clean, minimal holes. Your denim designs will sew out crisp and flat. The extra effort upfront saves you ruined garments, wasted thread, and countless hours of frustration. Go find a specialist. Your tough fabrics are waiting.